So I found that Comp Apps classes are pretty fun and exciting because we were taught to study new things. I was an amateur starting from zero before the start of the semester and hey I am able to create an animation now, after 4 months. It is great to see that the application renders everything according to our plan. It has been stressing if it goes otherwse though :(
Thank you to Mr. Angus who had been patiently teaching us every bits and pieces. Thank you to my wonderful classmates who helped me to keep up with the lesson too! Hahaha...
Still a long way to go to master this thing but I guess now that I learnt the basics I am good to go :D
Friday, 13 December 2013
Project 3 Animation
http://www.youtube.com/watch?v=_gKQ9sZttwY&feature=youtu.be
Finally! After continuous hours of non-stop renderings for the past days, all scenes were gathered and compiled, producing this short animation, promoting a perfect getaway at Cameron Highlands.
Monday, 9 December 2013
Animation WIP
So far i had thought of a story board consisting of an introduction which shows the waterfall, river flowing and moving grass. The body of the animation will consists of going around the exterior of the 'closed' movable tea house. The tea house would then 'open' and the scene moves to showing the interiors. In the ending, the scene turns into a nightview and then the credits follow.


Going up the stairs scene
creating a path using line resembling stairs, and attaching the camera to it. This gives the scene of walking up the stairs.


Trial using spray

trial using super spray


Trial using Pf source
Waterfall scene
So i had been interested in creating a waterfall scene for the beginning of the video, however it was not a successful attempt. I referred to many many youtube tutorials and tried the exact same direction as was given, but the result is far from satisfaction! Will keep trying this but I would have to give up as for now because of the limiting time.


Post Rendering

Photoshopping some images for the beginning of the animation

Using iMovie to compile and add effects to the rendered animations.
Falling Pieces Scene


Adjusting the movement and placement of each piece acording to the time. Here, I utilized the set key tool to adjust the timing.
Adjusting Camera
The cameras were bound to a path with the path constraints tool (Animation-->Constraints-->Path Constraints)
Dining Scene- Shaking tree

To animate the vegetation I had tried converting it to editable poly and move the elements (the leaves), but when dragging the time it is not animated.


So instead of falling leaves, I thought of just shaking the tree as if it was blown by the wind. I rotated the tree and adjusted the timing. I tried to animate the tree using noise too, but it was not successful so i might just be satisfied with this rotating thing.
Pool Scene
I thought that it would be quite boring to just go around the billiard table with everything staying still, so I decided to put a bit of movement to the stick and balls, like someone were playing with it.


Moving the objects and setting the time..
Site Context

For the Site context scene I used the previous file used in Project 2b

I had not used this before, but the Autodesk water option for the water material is a very good option. It gives a more realistic water than when using bitmap. Well, at least for me it was like that.

Choosing the environment from the wonderful pictures I got from the net.
Thursday, 5 December 2013

Friday, 22 November 2013
Project 2b Interior Rendering
Project 2b
These are the renderings, before visual enhancement using photoshop. So as was posted before my lighting in 3dmax does not work somehow, and the only solution is to add light and shadow with photoshop
Before photoshop

 Ground Floor/ Gathering Space
After Photoshop


Description: The Tea House has a villa like function where people would be staying for a night or more. Hence, it has to be homy and comfortable.
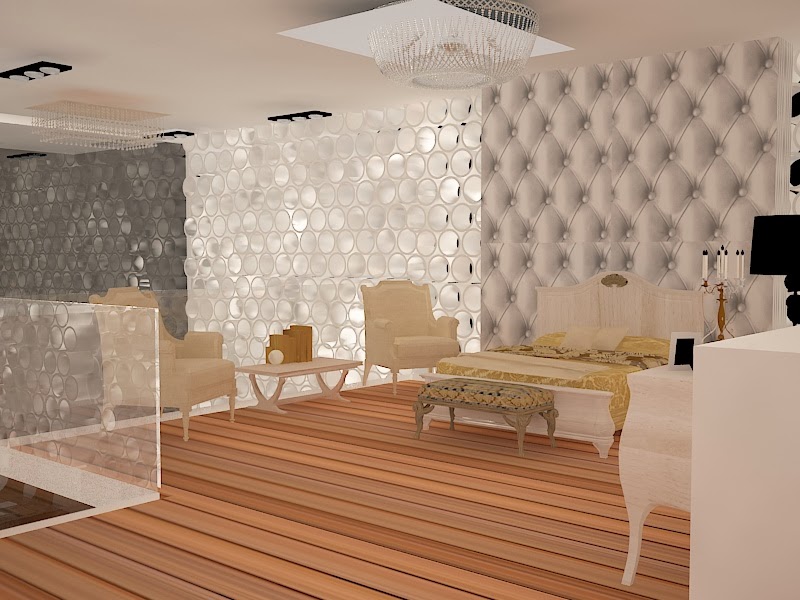
These are the renderings, before visual enhancement using photoshop. So as was posted before my lighting in 3dmax does not work somehow, and the only solution is to add light and shadow with photoshop
Before photoshop

Bedroom

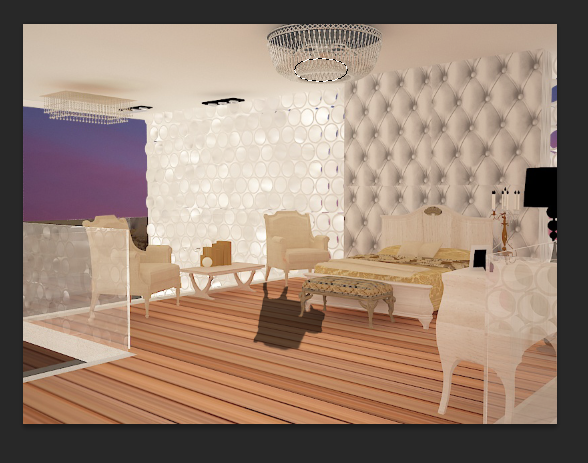
After Photoshop

Bedroom

Gathering Space
Link for Project 2b
So.. project 2 b is done! I am quite satisfied with the outcome even though it is not the best.
https://www.dropbox.com/s/xtv10wr0ye76up7/interiorfinal2.max
https://www.dropbox.com/s/xtv10wr0ye76up7/interiorfinal2.max
Thursday, 21 November 2013
Project 2b Test Renderings
For project 2b I had downloaded an extended plug in, vray, which is believed to give a more realistic outcome. I do agree with it, and here are some of the test renderings..


The first 3 renders, which differs by the adjustment of lights is dark and does not give the desired product. So I tried to watch a vray tutorial and followed the steps for the render setup, and the rendering below is produced.


adding in furniture


modify material of the furniture


The rendering, but with no light


Test scene 2
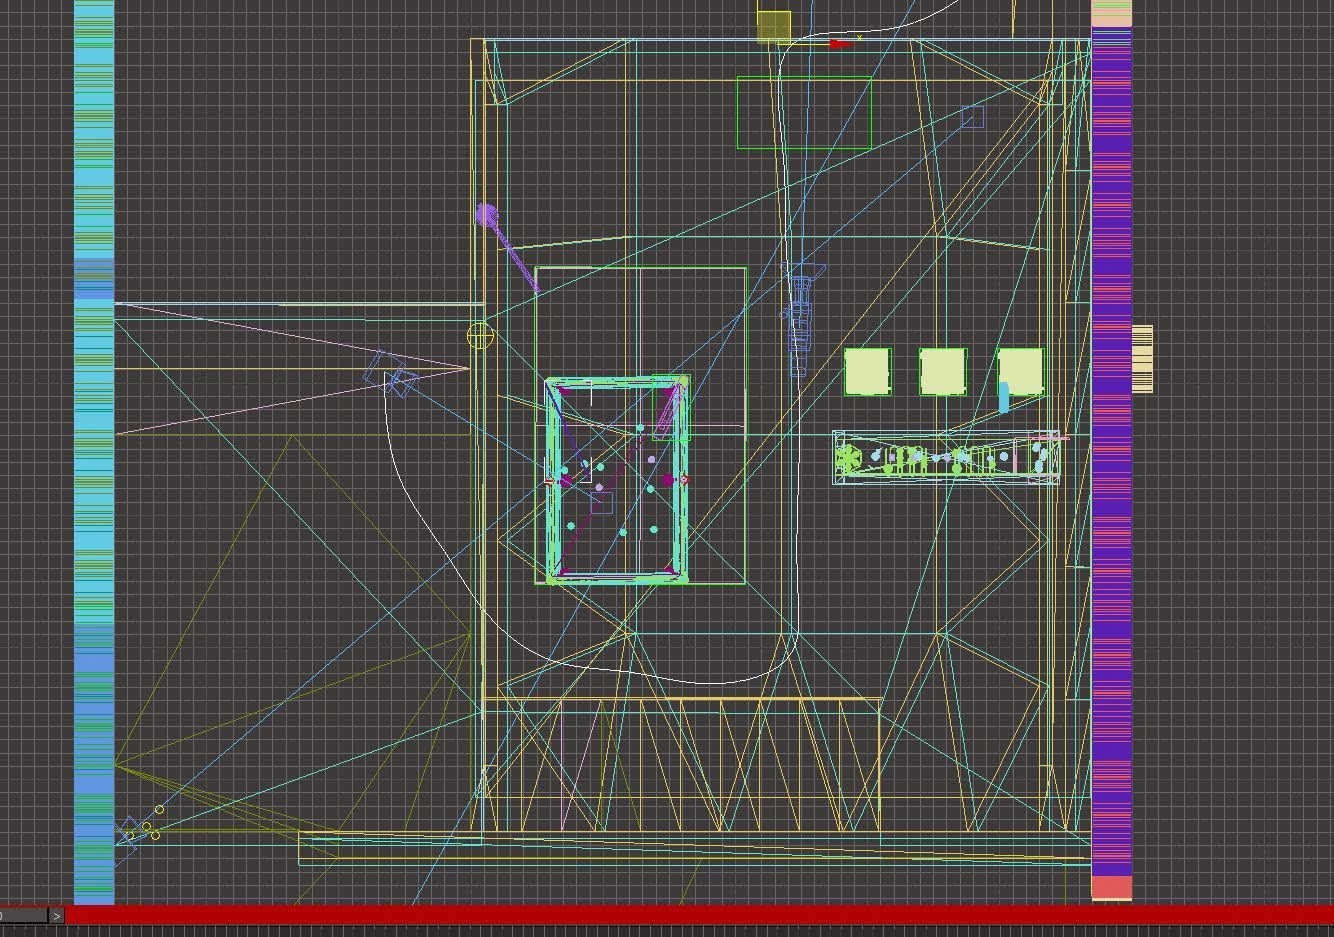
Project 2b process
So currently I am halfway done for project 2b. There is a couple of major problems that I currently am encountering, one of which is that my laptop is super duper lagging and it really slows down my work but nevertheless the test renderings (next post) are pretty satisfying for me.
It is just that the light does not show after the render. I had browsed the net, watch some tutorial videos on youtube, but to no avail :( Hopefully by tomorrow I would be able to figure out what the problem is, and if not might as well solve this by post production enhancement by photoshop..

So this is the addition of furnitures into the scene, and adjusting the materials to get the desired detailings. I thought that it would be tiresome, but actually it was quite fun.

No light.. no shadow..

a potential background for one of the scene found from the net


adjusting the UVW map
and oh, also there is another problem which has been solved (yeay me) - the glass does not look transparent at all no matter how transparent I made the material. And I tried making few more transpaernt materials only to get the same result.

The glass railing appears frosted
At last, realized that the problem was caused by the double layer of the railing, which I might have accidentally while drafting in rhino. Below is the result after eliminating the unwanted layers:
I had added lights into the scene, but it does not show up. Other than vray light, I had also tried the photometric light after getting the file from my friend. But it gives the same result-zilch. 


At last, i decided to leave the light as it is as the test renderings are bright and visible, but just that the light does not come from a source and the shadow are very faint. So, I will be editing these with photoshop.

Render setup

rendering...
Post Production- Photoshop

Adding in the light, by using oval marquee tool and in the adjustments alter the brightness.
Attempt to put a shadow


Adding lights part 3


Erasing the background with the help of magic wand

A more suitable background is added to the scene.


Shadow for the pool table
Subscribe to:
Comments (Atom)